NEWS
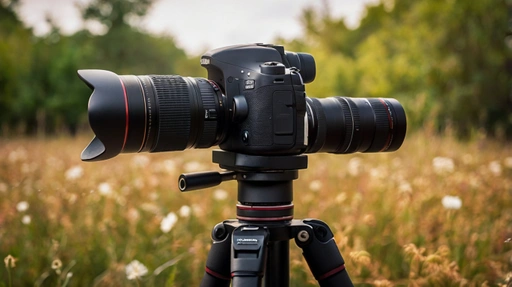
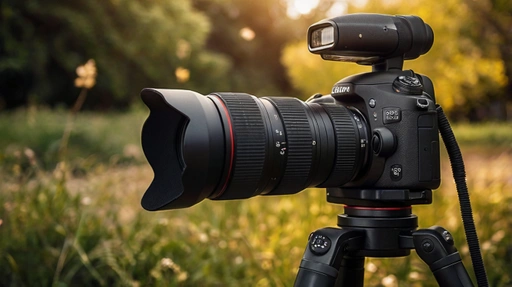
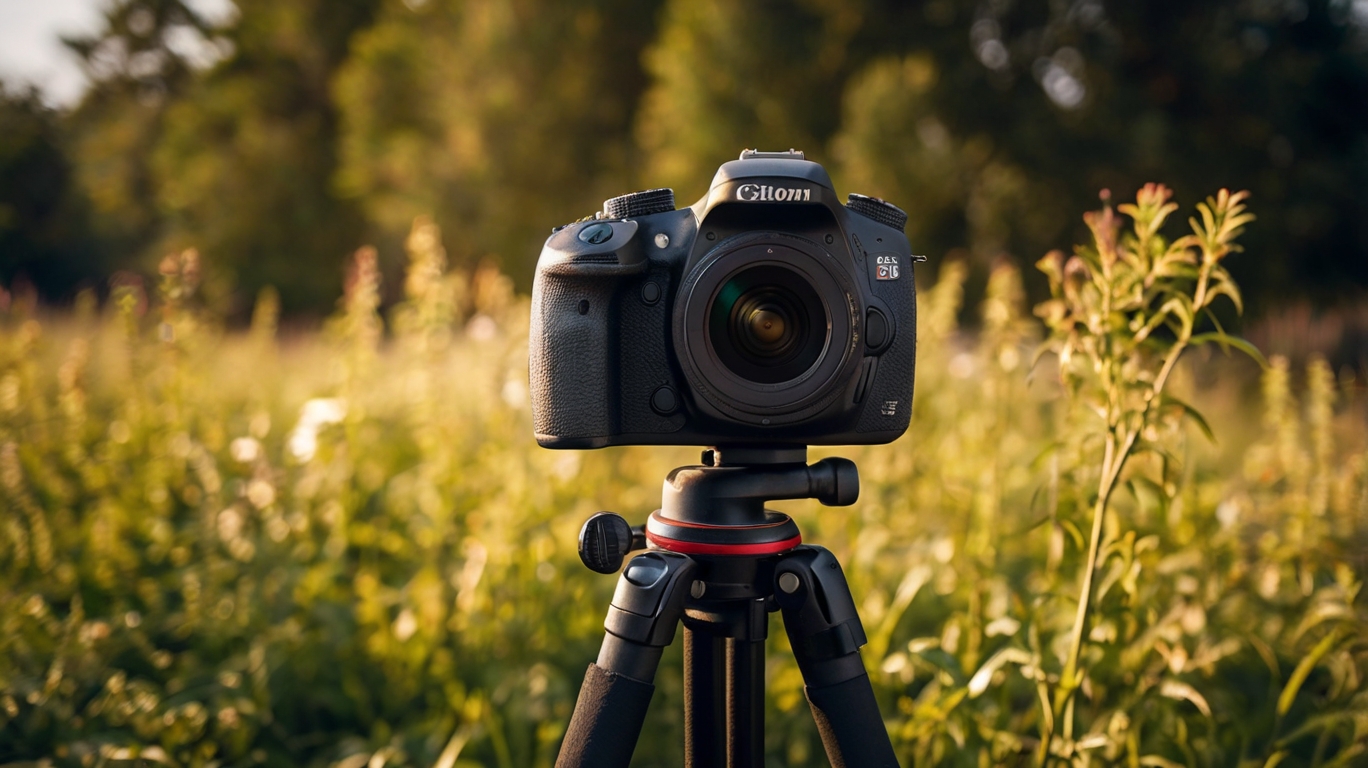
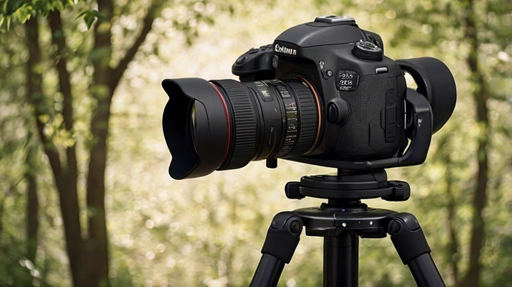
Tripod for DSLR camera
Tripods for DSLR Cameras: A Comprehensive Guide
Introduction
Photography is an art that requires not just skill but also the right equipment. One of the most essential pieces of gear for photographers, especially those using DSLR cameras, is a tripod. Tripods provide stability, reduce camera shake, and allow for long exposures, making them indispensable for both amateur and professional photographers alike. This article will delve into everything you need to know about tripods for DSLR cameras, including their types, features, benefits, and reviews of some of the best models available.
1. The Importance of Using a Tripod

1.1 Stability
One of the primary reasons to use a tripod is to achieve stability. When shooting at slower shutter speeds, even the slightest movement can cause blurriness. A tripod eliminates this issue by providing a solid platform for your camera. This is especially crucial for landscape photography, long-exposure shots, and macro photography.
1.2 Improved Composition
Using a tripod allows you to frame your shot more precisely. You can make adjustments without holding the camera, enabling you to focus entirely on composition. This is particularly helpful for still-life photography or when shooting in controlled environments.
1.3 Versatility
Tripods are not just for still photography; they are also invaluable for videography. They allow for smoother panning and tilting, making your video shots look more professional. Many tripods come with features that cater specifically to videographers, such as fluid heads for seamless movement.
1.4 Accessibility for Long Exposures
Long-exposure photography can create stunning effects, such as silky water or light trails. However, achieving these effects requires a stable camera position over an extended period. A tripod ensures that your camera remains perfectly still during the exposure, yielding clear and sharp images.
2. Types of Tripods
Tripods come in various shapes and sizes, each designed for specific purposes. Understanding the different types of tripods will help you choose the right one for your photography needs.
2.1 Full-Size Tripods
Full-size tripods are the most common type and are designed for stability. They typically extend to a height of around 60 inches or more, allowing for comfortable shooting at eye level. They are ideal for landscape photography, portraiture, and studio work.
2.2 Compact Tripods
Compact tripods, also known as travel tripods, are lightweight and portable, making them perfect for photographers on the go. They are designed to fold down to a small size, allowing for easy transport in a camera bag. However, they may sacrifice some stability compared to full-size models.
2.3 Mini Tripods
Mini tripods are small and lightweight, designed for use with lightweight cameras or smartphones. They are perfect for tabletop photography or for photographers who need a quick and easy setup. However, they may not provide enough stability for heavier DSLR cameras.
2.4 GorillaPod Tripods
GorillaPod tripods feature flexible legs that can wrap around various surfaces, providing versatility in shooting angles. They are especially popular among vloggers and travel photographers who need a lightweight and adaptable option.
2.5 Video Tripods
Video tripods are specifically designed for videography, featuring fluid heads that allow for smooth panning and tilting. They often come with additional features like counterbalances to keep your camera steady during movement.
3. Key Features to Consider
When choosing a tripod for your DSLR camera, consider the following key features:
3.1 Height
The maximum height of the tripod is essential for ensuring comfortable shooting. A tripod should be tall enough to reach your eye level without the need for bending down. Many tripods also come with adjustable center columns for added height.
3.2 Weight Capacity

Every tripod has a weight limit, so it’s crucial to choose one that can support your DSLR camera and any additional accessories, such as lenses or a flash. A sturdy tripod will ensure stability and prevent tipping.
3.3 Material
Tripods are typically made from aluminum or carbon fiber. Aluminum tripods are usually more affordable and heavier, while carbon fiber tripods are lighter and more durable but come at a higher price point. Consider your needs for portability versus stability when selecting materials.
3.4 Head Type
Tripods come with different types of heads, including ball heads, pan-and-tilt heads, and fluid heads. Ball heads allow for quick adjustments and are great for general photography, while pan-and-tilt heads offer more precision for both stills and video.
3.5 Folded Size
For travel photographers, the folded size of the tripod is critical. A compact tripod that can easily fit in a backpack or carry-on luggage is essential for convenience.
3.6 Quick Release Plate
A quick release plate allows you to easily attach and detach your camera from the tripod. Look for tripods with sturdy and easy-to-use quick-release mechanisms to streamline your shooting process.
3.7 Stability Features
Some tripods come with additional stability features, such as spiked feet for outdoor use or hook attachments for adding weight to prevent tipping. These features can greatly enhance your tripod’s performance in various shooting conditions.
4. How to Choose the Right Tripod for Your DSLR Camera
Choosing the right tripod involves considering your specific needs and shooting style. Here are some steps to help you make an informed decision:
4.1 Assess Your Photography Needs
Consider what type of photography you do most frequently. If you primarily shoot landscapes, a full-size tripod with excellent stability may be your best choice. If you travel often, a lightweight and compact tripod might be more suitable.
4.2 Evaluate Your Camera Gear
Assess the weight and size of your DSLR camera and lenses. Ensure that the tripod you choose can support the combined weight of your gear, especially if you plan to use larger lenses or additional accessories.
4.3 Test for Comfort and Usability
If possible, test out tripods in-store to see how comfortable they are to use. Pay attention to how easy it is to adjust the height, switch the head, and attach your camera.
4.4 Read Reviews and Comparisons
Take the time to read reviews and comparisons of different tripod models. Look for feedback on durability, ease of use, and overall performance. Websites, forums, and photography communities are great resources for gathering opinions from other photographers.
5. Top Tripods for DSLR Cameras: Reviews
5.1 Manfrotto Befree Advanced Tripod
Key Features:
- Material: Aluminum
- Weight: 3.1 lbs (1.4 kg)
- Maximum Height: 59.1 inches (150 cm)
- Weight Capacity: 15.4 lbs (7 kg)
- Head Type: Ball head with quick-release plate
Overview: The Manfrotto Befree Advanced is a compact and lightweight tripod that doesn’t compromise on stability. Its ball head allows for smooth adjustments, making it ideal for both landscape and portrait photography. Users praise its portability and build quality, making it a popular choice among travel photographers.
5.2 Gitzo GT1545T Series 1 Traveler Tripod
Key Features:
- Material: Carbon Fiber
- Weight: 3.1 lbs (1.4 kg)
- Maximum Height: 61.4 inches (156 cm)
- Weight Capacity: 39.7 lbs (18 kg)
- Head Type: No head included (compatible with various heads)
Overview: The Gitzo GT1545T is a premium tripod designed for serious photographers. Its carbon fiber construction provides excellent stability while remaining lightweight. The tripod is highly portable, making it a favorite among professional photographers. The only downside is its higher price point, but many users feel it’s worth the investment.
5.3 Vanguard Alta Pro 263AT Tripod
Key Features:
- Material: Aluminum
- Weight: 5.7 lbs (2.6 kg)
- Maximum Height: 68.2 inches (173 cm)
- Weight Capacity: 15.4 lbs (7 kg)
- Head Type: Pan-and-tilt head
Overview: The Vanguard Alta Pro 263AT is known for its versatility and unique multi-angle central column. This allows for creative shooting angles and positions. The tripod is sturdy and can support heavy DSLRs and lenses. Users appreciate its stability and the flexibility it offers, making it suitable for various photography styles.
5.4 Joby GorillaPod 5K Kit
Key Features:
- Material: Rubber and plastic
- Weight: 2.5 lbs (1.13 kg)
- Maximum Height: Flexible positioning
- Weight Capacity: 11 lbs (5 kg)
- Head Type: Ball head included
Overview: The Joby GorillaPod 5K is a unique option for photographers who require flexibility and adaptability. Its flexible legs can wrap around objects, allowing for creative shooting angles. While it may not provide the same stability as traditional tripods, its versatility is unmatched for on-the-go photographers and vloggers.
5.5 Benro TMA28A Series 2 Aluminum Tripod
Key Features:
- Material: Aluminum
- Weight: 5.5 lbs (2.5 kg)
- Maximum Height: 65.4 inches (166 cm)
- Weight Capacity: 39.7 lbs (18 kg)
- Head Type: No head included (compatible with various heads)
Overview: The Benro TMA28A Series 2 is a heavy
6. Maintenance Tips for Tripods
Proper maintenance will extend the lifespan of your tripod and ensure it functions effectively. Here are some tips to keep your tripod in top condition:
6.1 Clean Regularly
After each use, wipe down your tripod legs and head to remove dirt, dust, and moisture. For stubborn spots, use a soft cloth or a camera lens cleaning solution.
6.2 Inspect for Damage
Regularly check your tripod for signs of wear and tear. Inspect the legs, locks, and head for any damage that may affect stability. Address any issues immediately to prevent further damage.
6.3 Store Properly
When not in use, store your tripod in a cool, dry place. If possible, use a carrying case to protect it from dust and moisture. Avoid leaving it in extreme temperatures or conditions.
6.4 Lubricate Moving Parts
For tripods with moving parts, consider applying a small amount of lubricant to the joints and locks occasionally. This will help maintain smooth operation and prevent sticking.
7. Conclusion
A tripod is an essential tool for any DSLR camera owner, enhancing your photography and videography experiences. By understanding the different types of tripods, their features, and how to choose the right one, you can make an informed decision that suits your needs. Whether you opt for a full-size tripod, a compact model for travel, or a flexible GorillaPod, investing in a quality tripod will undoubtedly elevate your photography game.
8. Frequently Asked Questions (FAQs)
Q1: Can I use a tripod with a mirrorless camera?
A1: Yes, most tripods are compatible with both DSLR and mirrorless cameras. Just ensure that the tripod can support the weight of your camera.
Q2: What is the best material for a tripod?
A2: Carbon fiber is generally preferred for its lightweight and durability, but aluminum tripods are also popular and more affordable.
Q3: Do I need a specific tripod head for video?
A3: Yes, a fluid head is recommended for videography, as it allows for smoother pans and tilts.
Q4: How do I properly set up a tripod?
A4: Start by extending the legs to the desired height, ensuring they are evenly placed. Lock the legs in position, and adjust the head to align your camera as needed.
Q5: Are there any alternatives to traditional tripods?
A5: Yes, you can use monopods, Gorillapods, or even stable surfaces to hold your camera, but tripods generally provide the most stability for long exposures and precise compositions.
9. Advanced Features to Look for in Tripods
9.1 Leg Locks
Tripods typically come with two types of leg locks: twist locks and flip locks. Twist locks are often found on higher-end models and provide a sleek design, but they may take a bit longer to set up. Flip locks, on the other hand, are quick and easy to use, allowing you to adjust the height of your tripod rapidly. Consider your preferences and how quickly you need to set up your tripod when choosing between these options.
9.2 Center Column
Many tripods feature a center column that can be extended for added height. However, it’s important to understand that raising the center column can reduce stability, especially in windy conditions. Some tripods allow you to invert the center column, providing unique low-angle shooting opportunities. Look for a tripod with a center column that can lock securely at various heights for maximum versatility.
9.3 Weather Resistance
If you plan to shoot outdoors, especially in adverse weather conditions, consider a tripod with weather-resistant features. Look for models with sealed legs and rubber gaskets that protect the internal mechanisms from dust and moisture. This feature can significantly extend the lifespan of your tripod and ensure reliability in the field.
9.4 Hook for Weights
Some tripods come with a hook at the bottom of the center column that allows you to attach weights, such as a camera bag or a sandbag, for added stability. This feature is particularly useful when shooting in windy conditions or on uneven terrain.
9.5 Bubble Level
A built-in bubble level helps ensure that your camera is perfectly level, which is crucial for landscape photography and panoramas. Some tripods have multiple bubble levels, allowing you to check both horizontal and vertical alignment.
9.6 Smartphone Mounts
With the rise of smartphone photography, many tripods now include or are compatible with smartphone mounts. These mounts make it easy to use your tripod with your smartphone, enabling you to take advantage of the stability a tripod provides for mobile photography and videography.
10. Using Your Tripod Effectively
10.1 Proper Setup
When setting up your tripod, always extend the legs from the largest section first to maintain stability. Ensure that all legs are locked securely before attaching your camera. If shooting on uneven ground, adjust each leg individually to ensure the tripod is level.
10.2 Weight Distribution
For added stability, keep the weight of your camera and any additional accessories low on the tripod. If your tripod has a hook for weights, use it to lower the center of gravity, particularly in windy conditions.
10.3 Using Remote Shutter Release
To prevent camera shake, consider using a remote shutter release or the camera’s self-timer function. This is especially important for long-exposure shots where even the slightest movement can affect the final image.
10.4 Adjusting for Different Angles
Experiment with different angles by adjusting the legs of your tripod. Some tripods allow for independent leg adjustments, enabling you to shoot on sloped surfaces or in tight spaces. Utilize the ball head to fine-tune the angle of your camera for precise compositions.
10.5 Practicing Patience
Using a tripod can slow down your shooting process, which is a positive aspect. Take the time to compose your shot carefully, make adjustments, and focus on the details. Patience can lead to better results, especially in landscape and architectural photography.
11. Common Tripod Mistakes to Avoid
11.1 Neglecting Stability
One of the most common mistakes photographers make is assuming that any tripod will provide adequate stability. Ensure that your tripod can handle the weight of your camera and accessories. A sturdy tripod is essential for achieving sharp images, especially at slower shutter speeds.
11.2 Overextending the Center Column
While it may be tempting to raise the center column for added height, doing so can compromise stability. If you need extra height, try to extend the legs first. If you must use the center column, be mindful of the conditions and the potential for camera shake.
11.3 Forgetting to Lock Legs
Always double-check that the leg locks are secure before shooting. Loose legs can lead to unexpected shifts in position, resulting in blurry images. Take the extra time to ensure everything is locked in place.
11.4 Ignoring Maintenance
Tripods require regular maintenance to ensure longevity and performance. Neglecting cleaning and inspecting your tripod can lead to issues over time. Make it a habit to check your tripod after each use and perform regular maintenance.
12. Accessories for Tripods
While a tripod itself is invaluable, certain accessories can enhance your experience and expand your capabilities.
12.1 Quick Release Plates
Investing in multiple quick-release plates can save you time when switching between cameras or setups. This allows for a seamless transition from one shot to another without wasting time detaching and reattaching your camera.
12.2 Tripod Bags
A tripod bag provides protection during transport and storage. Look for padded bags that can accommodate your tripod along with any accessories you may carry.
12.3 Leveling Base
A leveling base allows you to adjust the angle of your tripod head independently from the legs. This is particularly useful for panoramic photography or when shooting on uneven surfaces.
12.4 Sandbags
Sandbags can be used to weigh down your tripod, providing extra stability in windy conditions. They can be placed on the legs or hung from the hook at the bottom of the center column.
12.5 Smartphone Mounts
If you often shoot with a smartphone, consider getting a dedicated smartphone mount that can be attached to your tripod. This allows you to take advantage of the stability of your tripod for mobile photography.
13. Conclusion
Investing in a quality tripod is a fundamental step for any photographer looking to elevate their craft. The right tripod not only enhances the stability of your shots but also improves your overall shooting experience. By understanding the various types of tripods, their key features, and how to choose the right one, you will be well-equipped to make informed decisions tailored to your photography needs.
With the maintenance tips and effective usage techniques outlined in this article, you can maximize the benefits of your tripod and achieve stunning results in your photography. Whether you are capturing breathtaking landscapes, portraits, or video content, a tripod will become an invaluable asset in your photography toolkit.
14. Frequently Asked Questions (FAQs)
Q1: Can I use a tripod with my smartphone?
A1: Yes, many tripods come with smartphone mounts or can be used with adapters, making them suitable for smartphone photography.
Q2: How do I know if a tripod is stable enough for my DSLR?
A2: Check the weight capacity of the tripod and ensure it exceeds the combined weight of your camera and lens. User reviews can also provide insights into stability.
Q3: Are carbon fiber tripods worth the investment?
A3: Carbon fiber tripods are generally more expensive but are lighter and more durable than aluminum models. If you travel frequently or shoot in rugged conditions, they may be worth the investment.
Q4: How often should I clean my tripod?
A4: It’s a good practice to clean your tripod after each use, especially if you’ve been shooting in dirty or wet conditions. Regular maintenance will prolong its lifespan.
Q5: Can I use a tripod for macro photography?
A5: Absolutely! A tripod is ideal for macro photography as it provides stability for capturing fine details. A tripod with a macro-friendly head and adjustable legs will enhance your experience.


